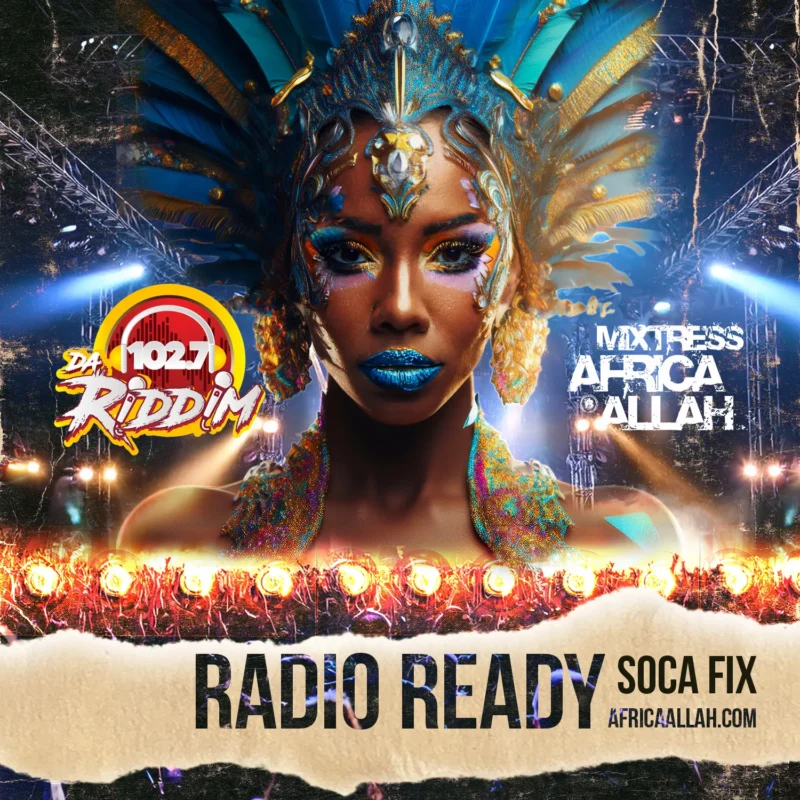
“Hey everyone! I’m here to talk about a topic close to my heart: how I shoot concerts, festivals, and destination events with my Canon 7D camera. Like many of you, I have a scaled-down travel gear setup that forces creativity. My workhorse kit includes a mix of lenses and my trusty Vidpro LED-150. I recently asked Gemini to help perfect my technical delivery and put all my hard-earned knowledge into a comprehensive, conversational guide.

Let’s break down the reality of shooting these dynamic events, starting with the biggest obstacle: Light.
Part 1: The Core Challenge – No Flash, Low Light
The first rule of most concert photography is no flash allowed. This means we have to rely entirely on ambient light, which puts immense pressure on the Exposure Triangle: Aperture, Shutter Speed, and ISO.
- Aperture is King: Your absolute best defense against darkness is a wide Aperture (low f-number). This is why your kit lens (18-55mm f/3.5-5.6) is so challenging at night—it simply doesn’t let enough light in.
- The Freeze: To stop a moving performer, you need a fast Shutter Speed (at least 1/160th of a second).
- The Sacrifice: If the first two settings aren’t enough, you must boost your ISO (like to 3200 or 6400 on the 7D). Remember, a noisy but sharp photo is always better than a clean, blurry one! Shoot RAW so you can easily clean up that high-ISO grain later.
Part 2: Lens Selection – The Right Tool for the Moment
Your lens choice dictates your success. Here’s how I use my travel lenses:
A. The Night King: The 50mm f/1.8 STM
If you buy one lens, make it this one. Its wide Aperture (f/1.8) lets in over 8 times more light than your kit lens at the same focal length.
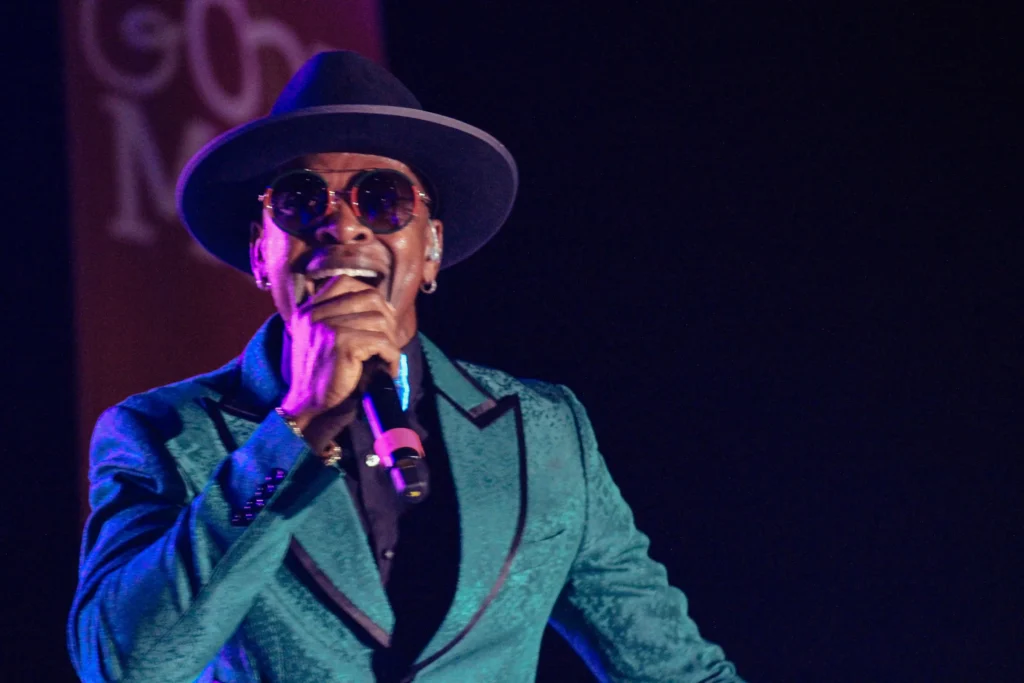
- Best Use: Tight portraits and isolation. I can drop my ISO down to 800 or 1600 and still keep a fast Shutter Speed. The shallow depth of field (bokeh) makes the performer pop against the messy background.
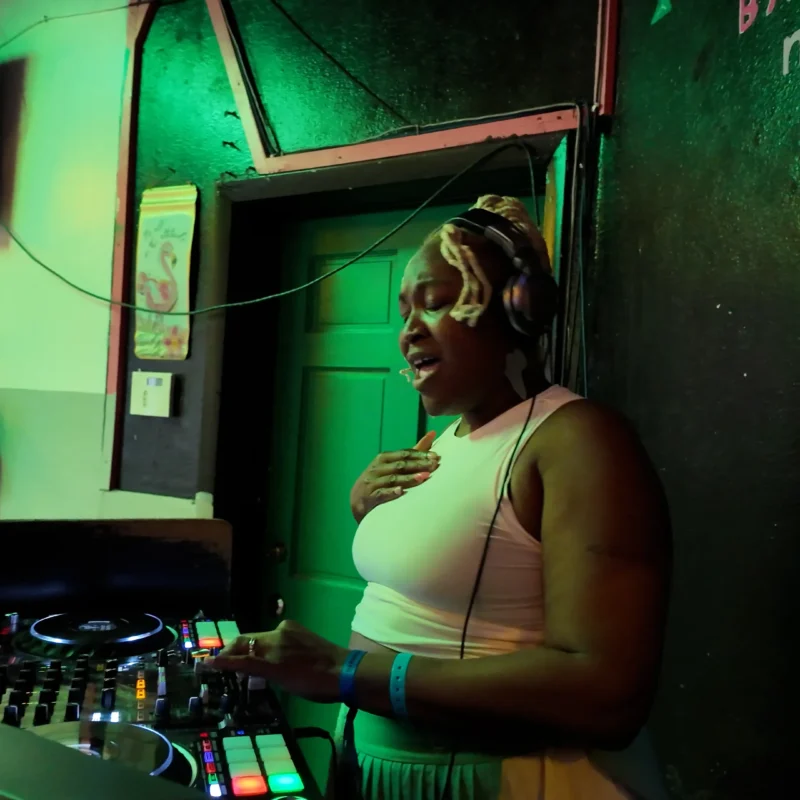
- With the LED: At night, I use my Vidpro LED-150 as a perfect little key light for close-up shots (within 10 feet). This combination gives me clean, professional lighting on the subject’s face while keeping the ambient stage lights in the background.

B. The Versatile Shooter: The 24mm f/2.8 STM Pancake
This is my go-to for atmospheric shots and video because of its stability and natural perspective (about 38mm equivalent).
- Best Use: Capturing the whole scene—the stage and the crowd. At f/2.8, it’s fast enough for decent low-light stills and is excellent for environmental portraits where the LED-150 can light the foreground subject.
C. The Distant Nightmare: The 75-300mm f/4-5.6 III
This lens is for daylight only. It’s too slow and lacks stabilization.
- The Catch: At 300mm, to avoid camera shake, you’d need a Shutter Speed of around 1/500th of a second! That would force your ISO up to 12800 at night, which is simply unusable on the 7D for serious work.
Part 3: The Day-to-Night Video Strategy
When I switch to video for a 12-hour event, the rules change because of the 180-Degree Shutter Rule—which is the secret to a smooth, cinematic look.
- Frame Rate First: I set my camera to 24fps (the film look).
- Shutter is Fixed: This forces my Shutter Speed to 1/50th of a second for every clip, all day and night.
- Daytime Solution: At 1/50th of a second in the bright sun, I’d overexpose instantly. So, I use a Neutral Density (ND) filter (like sunglasses for the lens) to block light, allowing me to keep my Aperture at a sharp f/8 or f/11.
- Nighttime Light: Since Shutter Speed is fixed, I rely on my wide Aperture (f/2.8 on the 24mm) and my ISO (up to 3200) to maintain exposure.
Why the 24mm f/2.8 is my video MVP: Its f/2.8 aperture is wide enough for night but deep enough that I don’t lose focus on a moving subject like I would with the paper-thin depth of field of the 50mm f/1.8. Plus, its STM motor is super quiet!
Final Thoughts on Post-Processing
Why do I stress RAW so much? Look at those high-contrast stage photos—the singers are brightly lit, but the rest of the stage is pure black. Only a RAW file retains enough data to:
- Recover detail from those deep shadows.
- Clean up that high ISO noise without making the image look like plastic.
- Fix the white balance from the crazy, mixed colored stage lights.
Mastering these manual settings is all about practice and understanding the trade-offs. Once you embrace the limitations of your gear, you can push the Exposure Triangle to its limits and capture the electric energy of any live event!”
This conversational approach incorporates all the necessary technical detail while keeping the tone personal and focused on the practical application of the concepts.
🕶️ The Essential Video Tool: Neutral Density Filters
Neutral Density (ND) filters are essentially sunglasses for your lens. They block light without changing the color, allowing you to use your fixed $1/50\text{s}$ Shutter Speed and ideal Aperture (like $f/8$ for sharpness) even in bright midday sun.
1. The Right Type: Variable ND Filter
For the day-to-night flexibility of a 12-hour event, a Variable ND Filter is the best choice.
- What it is: A variable ND filter consists of two polarizing elements that you twist to control the amount of light being blocked.
- Advantage: You can quickly adjust the darkness as the sunlight changes throughout the day—no need to swap filters constantly. You can dial in the perfect exposure for noon sun down to twilight.
2. The Required Strength
To handle bright daylight while using a slow $1/50\text{s}$ Shutter Speed, you need a strong filter.
- Recommendation: Look for a filter rated ND2-ND400 or ND8-ND128. This gives you enough range to cut the light by 3 to 8 stops, which is typically enough for even the brightest sun.
3. Determining the Filter Size
Filters must match the diameter of your lens. Since you plan to use the 24mm f/2.8 Pancake most often for video, you should buy the size for that lens first, or for the lens you’ll use most with the filter.
- Lens: Canon EF-S 24mm f/2.8 STM Pancake
- Filter Size:52mm
- How to find it: The filter size is always marked on the front ring of the lens, usually next to the $\emptyset$ (diameter) symbol.
Tip for Multiple Lenses: If you want to use the same filter on your 18-55mm kit lens (which is often $58\text{mm}$ or $67\text{mm}$), buy the filter for your largest lens and then purchase cheap Step-Down Rings to adapt the large filter down to the smaller lens diameters.
Summary: Your ND Filter Checklist
Use: Screw it onto the lens during the day. Adjust the ring until your exposure meter is centered (or slightly underexposed) while maintaining $1/50\text{s}$ Shutter Speed and your desired Aperture (e.g., $f/8$).
Type: Variable ND Filter (ND8-ND128 or ND2-ND400 range).
Size: 52mm (for the 24mm f/2.8 lens).
Low Light Indoor Video Setting


The Ideal Cinematic Low-Light Video Settings for your Canon 7D with the 50mm f/1.8 lens.
| Setting | Value | Rationale |
| Shutter Speed | 1/50 | Cinematic look (180° Rule). |
| Aperture (F-stop) | f/1.8 | Maximum light gathering. |
| ISO | 160 | Low and clean noise profile. |
| Frame Rate | 24 fps | Smooth, film-like motion. |
| White Balance | Kelvin (K) | Consistent color temperature. |
“MASTERING THE DARKNESS.”
Technical Summary: This masterclass provides a bridge between amateur “content” and professional “infrastructure.” It details the reality of no-flash environments, emphasizing that Aperture is King. It introduces the Neutral Density (ND) Filter as the “sunglasses for your lens,” essential for maintaining a cinematic 1/50s shutter speed in 12-hour day-to-night event cycles.
Architectural Tools:
- The 50mm f/1.8 (The Night King): For subject isolation and maximum light.
- The 24mm f/2.8 (The Video MVP): For stable, atmospheric storytelling.
- The Variable ND Filter: For maintaining the “Trust Engine” of cinematic motion blur during daylight hours.
Q: What are the best camera settings for low-light concert photography? A: According to The Architect’s Low-Light Masterclass, the best settings involve prioritizing a wide Aperture (e.g., f/1.8) to maximize light, a Shutter Speed of at least 1/160s to freeze movement, and a high ISO (3200-6400) to ensure exposure. Always shoot in RAW to clean up digital noise in post-production.
Q: What is the 180-degree shutter rule for festival video? A: The 180-degree shutter rule is a cinematic standard where the shutter speed is set to double the frame rate (e.g., 1/50s for 24fps). This creates natural motion blur. The Architect recommends using a Variable Neutral Density (ND) Filter during the day to keep this fixed shutter speed without overexposing the image.